How a run is stitched together
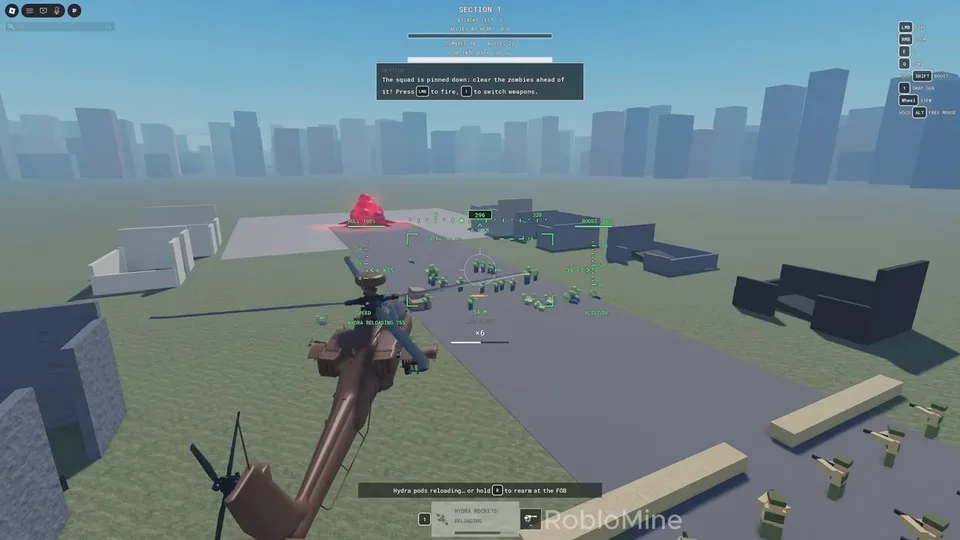
A deployment is a wave section. You fly close air support, protect the objective and allied vehicles, and clear the section. Pilots then vote on the next map. A full run can cross several maps and end on a WAR WON banner. Seasons are part of the official pitch, which says to push the front line through every season. No separate season calendar is published on the listing.
Banners worth answering
- CLOSE AIR SUPPORT. You are on the guns for the ground line.
- FLYERS INBOUND. Airborne enemies are arriving. Keep a ground defense working.
- ROAD CLEAR and SECTION 1 CLEARED. That stretch is done. Do not keep orbiting an empty road if the vote or the next section is up.
- TUNNELLERS. Zombies are digging toward the core. Deal with them before they arrive underneath.
- FOB OVERRUN. The defended position is failing. This outranks a new titan call until someone is on it.
Named places
Footage and map coverage name The Bridge, The Coast, The Beach, The Clearing, Canyon, The Interstate, Cinder City, the Airfield, and the Hive Cave. The Bridge is the roadway close-air-support map. After it, votes are described as continuing toward the coast and the beach. The Hive Cave is an underground neon section with a final hive-heart objective. Far Shore appears as a titan backdrop in the same footage set. Exact spawn charts for every map are not published, so use the banners on the map you are in.
What to practice on The Bridge
The Bridge is the best first map because the road makes the horde direction obvious. Put a Gun Nest on the roadway where the red ring allows it. Keep the chain gun on the groups walking that road. When a titan spawns, leave someone on the road.
Cinder City, Canyon, and the Interstate are named later locations. Do not assume the Bridge lane shape still applies. Vote for a map your squad can already clear if the goal of the session is Credits rather than a first look.