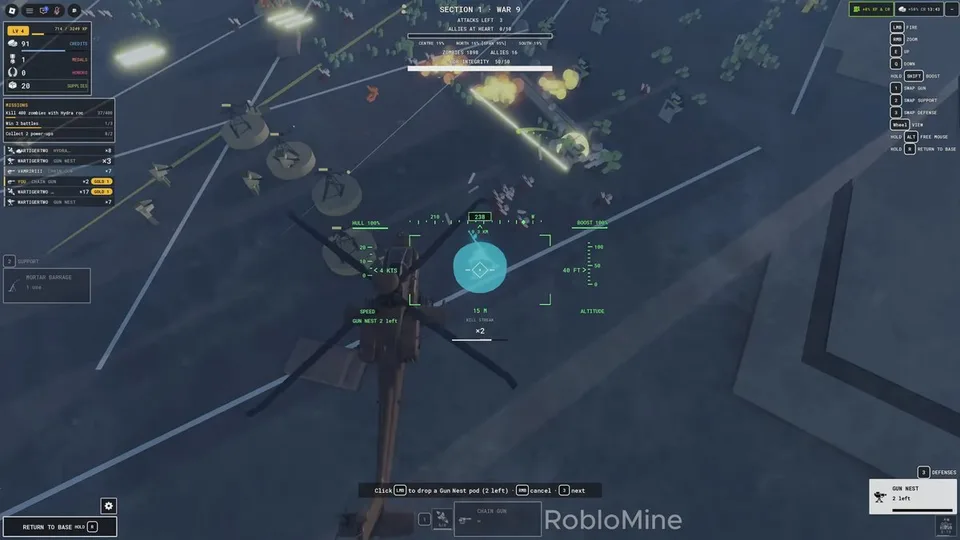
How a drop works
Pilots place defenses from the air on a placement grid. Published footage shows a red proximity ring that blocks a drop too close to zombie spawns. Put the structure on the approach or the choke, not on the spawn itself.
The Gun Nest is the drop shown on The Bridge roadway. Other named deployables are Barricades, Mortar Pit, Autocannon, Flame Turret, Gas Launcher, Laser Turret, Arc Tower, and the Cryo Emitter. The upgrade tree is reported to open more of them over time, along with squad infantry kits. That kit line is older than the October infantry mode. Do not assume a placed tower and the new on-foot mode are the same system.
Cryo Emitter
Cryo is described as freezing nearby zombies in pulses. A freeze does not clear the wave by itself. Say which pressure the freeze is for, and name who shoots that group while someone else stays on the rest of the horde.
A fan write-up describes Cryo as a paid pass with its own upgrade tree. The live Store did not render pass prices here, so confirm the price before you buy access. The freeze role can still be wrong for your squad even if the pass is affordable.
When to spend on a defense
Buy or place a defense for a pressure you can name:
- Ordinary zombies walking a road while aircraft are on a titan. A Gun Nest on that road is the documented example.
- A choke you already failed. Move the next drop to the approach that broke, instead of stacking the same spot.
- Flyers and ground packs at the same time. FLYERS INBOUND is the banner. The ground drop has to keep working while guns look up.
Skip a defense purchase when nobody can say which approach it covers. Credits also feed the chain-gun and rocket trees. Those nodes are listed in the upgrade guide.
After the drop
Look again once the squad's attention moves. If the problem walked past the tower, say so and retarget. Another purchase on the same plan does not fix a tower that is aimed at an empty lane.